 [+] Expand
Icing Instructions
 [+] Expand
Serratus Lat Wall Ball - ARR
 [+] Expand
Lat Release FR
 [+] Expand
Thoracic Extension FR
Reps: 10
Frequency: 2 times a day
 [+] Expand
Thoracic Rotation Upper Extremity Moves
Frequency: 2-3 times a day
 [+] Expand
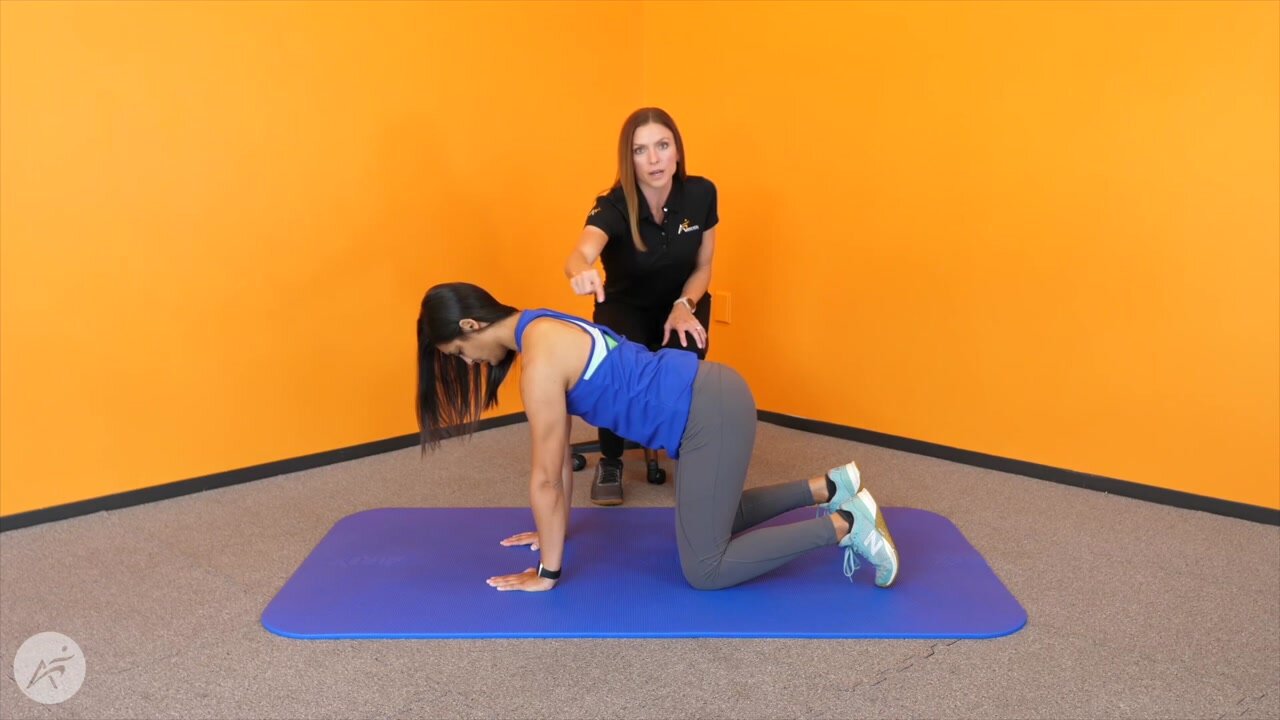
Shoulder Push Up Plus Quadruped
Reps: 20
Frequency: 3 times a day
 [+] Expand
Shoulder Sling
Reps: 10
Frequency: 2 times a day
Hold: 3-5 sec
 [+] Expand